Headshots: Your Visual Introduction To Potential Employers
Headshot Guide Series
I want you to know that my goal is to serve you well. The posts in this series will help set you up for success!

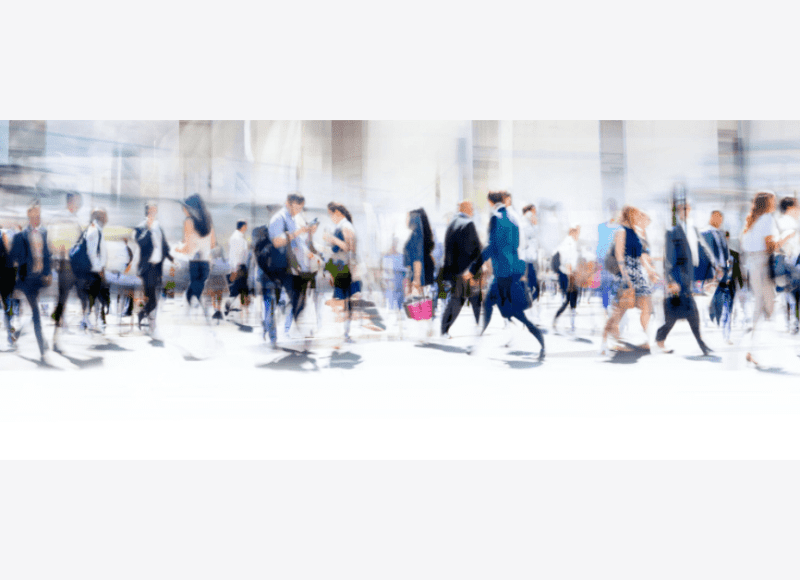
If you’re looking for a new job, you might wonder how to make a good impression on potential employers. One way to do that is to have a professional headshot that showcases your personality and skills. A headshot is a photo of your face and shoulders that you can use on your resume, LinkedIn profile, website, or social media. It’s a visual introduction that tells employers who you are and what you can offer.
But how do you get a headshot that stands out from the crowd? How do you prepare for a session with a photographer? And how do you choose the best photo for your needs? In this guide, I’ll share six steps to improve your headshot experience and maximize your investment.
Step 1: Find a photographer who suits your style and budget
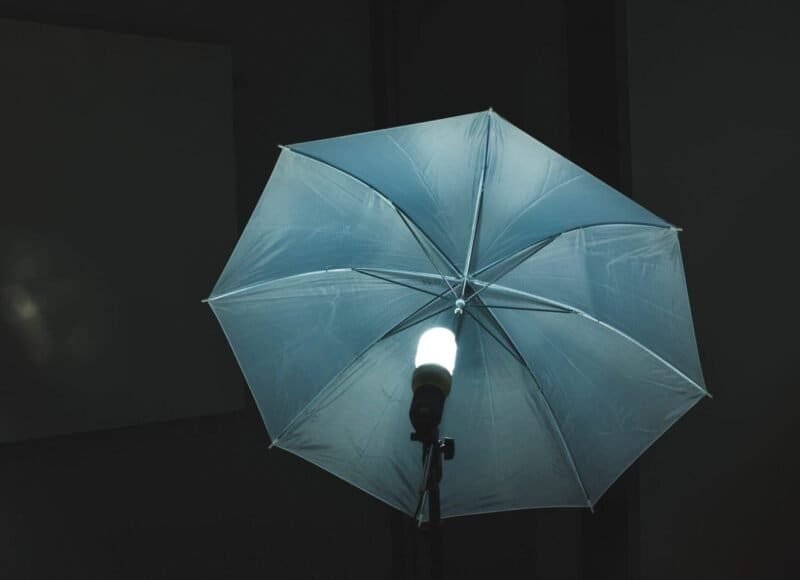
The first step is to find a photographer who can capture your essence and make you look your best. Many photographers are out there, but not all specialize in headshots or have the same style. You want to find someone who understands your industry, goals, and personality. You also want to find someone who fits your budget and offers a package that meets your needs.
To find a photographer, you can ask for recommendations from friends, colleagues, or mentors who have had headshots done before. You can also search online for photographers in your area and check their portfolios, reviews, and testimonials. Once you have a shortlist of candidates, contact them and ask about their availability, pricing, and process. You can also ask to see some samples of their work and get a feel for their style and approach.
Step 2: Plan your outfit, hair, and makeup
The second step is to plan what you’ll wear and how you’ll style your hair and makeup. Your outfit, hair, and makeup should reflect your brand and the image you want to project. They should also be appropriate for your industry and the type of job you’re applying for. For example, if you’re in a creative field, you might want to wear something more colorful and expressive than if you’re in a corporate field.
Here are some tips to help you plan your outfit, hair, and makeup:
- Choose solid colors or simple patterns that complement your skin tone and eye color. Avoid wearing anything too bright, flashy, or distracting that might draw attention away from your face.
- Choose clothes that fit well and flatter your body shape. Avoid wearing anything too tight, loose, wrinkled, or stained that might make you look unprofessional or uncomfortable.
- Choose accessories that add some interest and personality to your outfit. Avoid wearing anything too large, shiny, or noisy that might interfere with the lighting or the sound of the camera.
- Choose a hairstyle that suits your face shape and features. Avoid changing your hairstyle drastically before the session or doing anything that might damage your hair or make it look greasy or frizzy.
- Choose makeup that enhances natural beauty and makes you look fresh and confident. Avoid wearing too much makeup or anything that might clash with your outfit or skin tone.
Step 3: Practice your poses and expressions
The third step is to practice how you will pose and smile for the camera. Your poses and expressions should convey your personality and emotions. They should also be natural and relaxed, not stiff or forced. You want to look like yourself, not like someone else
You can use a mirror or a smartphone camera to practice your poses and expressions. Try different angles, tilts, and distances to find what works best. You can also try different smiles, from a big grin to a subtle smirk—experiment with various moods, from serious to playful. The goal is to find multiple options showing your versatility and charisma.
Step 4: Communicate with your photographer
The fourth step is communicating with your photographer before and during the session. Your photographer is there to help you get the best results possible, but they can’t read your mind. It would help to tell them what you want, what you like, and what you don’t like. It would be best if you also listened to their feedback and suggestions.
Before the session, communicate with your photographer about the following:
- Your goals: What are you using the headshot for? What message do you want to send? What impression do you want to make?
- Your preferences: What style do you like? What mood do you want to create? What colors do you prefer?
- Your concerns: What are you worried about? What are you insecure about? What are you uncomfortable with?
During the session, communicate with your photographer about:
- Your comfort: How are you feeling? Are you cold or hot? Are you hungry or thirsty? Do you need a break?
- Your feedback: How do you think the photos are turning out? Do you like the lighting, the background, the angle? Do you want to change anything?
- Your questions: Do you have any doubts or queries? Do you need any guidance or tips? Do you want to try something different?
Step 5: Review and select your photos
The fifth step is to review and select your photos after the session. Your photographer will usually send you a gallery of proofs or low-resolution images for you to choose from. You might have difficulty deciding which ones to keep and which to discard, but don’t worry. Here are some tips to help you review and select your photos:
- Look for quality: Check the focus, the exposure, the sharpness, and the color of the photos. Look for flaws or errors that might ruin the image, such as blurriness, glare, red-eye, or shadows.
- Look for consistency: Compare the photos with each other and with your goals. Look for discrepancies or variations that might affect your brand identity, such as outfits, hairstyles, or expressions.
- Look for impact: Choose the photos that catch your eye and make you feel something. Look for images that show your personality and skills, not just your appearance.
Step 6: Use and update your headshot
The final step is to use and update your headshot as needed. Once you have your last photos, you can upload them to your online platforms and print them for offline applications. You can also share them with your network and ask for feedback. Your headshot is a powerful tool to help you open doors and create opportunities, so use it wisely.
However, don’t forget that your headshot is not a permanent fixture. It’s a snapshot of who you are at a particular time. As you grow and change, so should your headshot. You should update your headshot every year or whenever you significantly change your appearance, career, or goals. That way, you can keep your headshot fresh and relevant.
Conclusion
A headshot is more than just a photo. It’s a visual introduction that tells potential employers who you are and what you can offer. Following these six steps, you can improve your headshot experience and get a photo that reflects your brand and showcases your potential.
I hope this guide was helpful and informative! Please get in touch with me if you’re interested in booking a session with me. I’d love to work with you and help you create a headshot that makes you shine.